Plumbing Repair • Leaky Faucets • DIY Guide
How to Fix a Leaky Faucet
That steady drip, drip, drip from your faucet is more than an annoyance. It wastes water, quietly pushes up your utility bill, and usually points to a small worn part that is easy to swap out.
The good news is that learning how to fix a leaky faucet is well within reach for most homeowners, and you often need only a few basic tools. Below, we walk through the whole repair step by step, explain what causes the drip in the first place, and help you decide when the job is better left to a professional.
Why a Leaky Faucet Is Worth Fixing Right Away
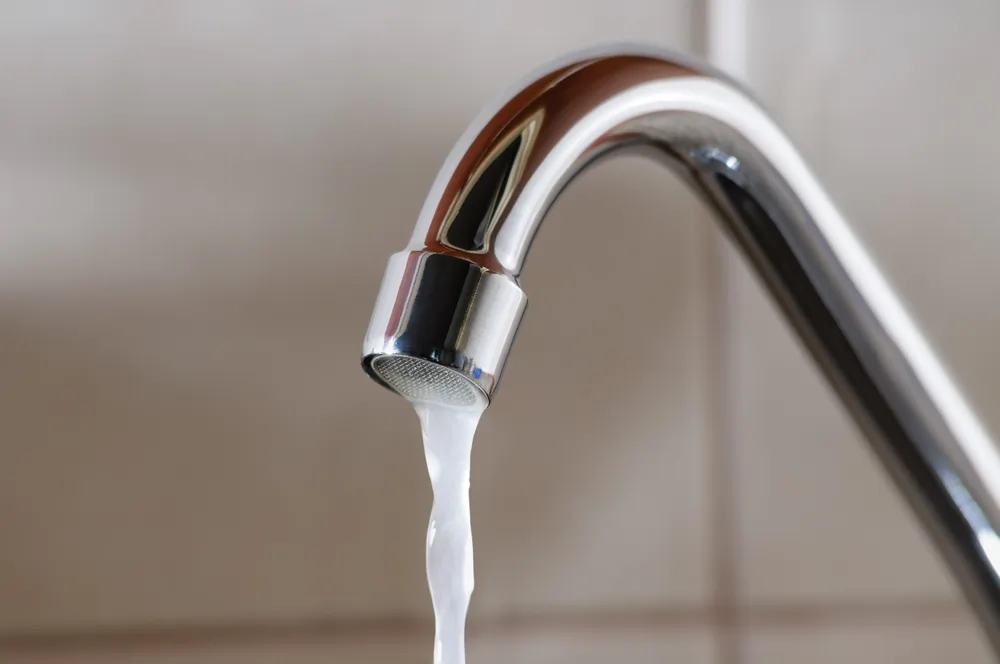
A single dripping faucet can feel harmless, but small leaks add up fast. The EPA’s WaterSense leak resources estimate that household leaks waste close to a trillion gallons of water nationwide every year, and the average home loses more than 9,300 gallons annually to easy-to-fix drips. Beyond the wasted water, a nagging leak can stain your sink, corrode fixtures, and hint at pressure or valve trouble elsewhere in your plumbing. Catching it early keeps a minor repair from turning into a costly one.
What You Will Need
Most faucet repairs call for the same short list of tools and parts:
- An adjustable wrench plus flathead and Phillips screwdrivers
- Replacement washers, O-rings, or a cartridge that matches your faucet
- Plumber’s tape and a small tube of plumber’s grease
- A clean rag and a small container to hold screws and parts
- Distilled white vinegar for dissolving mineral buildup
Gathering everything before you start makes the repair go much more smoothly.
How to Fix a Leaky Faucet, Step by Step
Step 1: Turn Off the Water Supply
Look under the sink for the two shutoff valves and turn them clockwise until they stop. If your sink does not have them, close the main water supply to the house instead. Open the faucet to drain any water left in the line, then plug the drain or lay a rag over it so no small parts slip down while you work.
Step 2: Identify Your Faucet Type
There are four common designs: compression, cartridge, ball, and ceramic disc. Compression faucets have separate hot and cold handles and rely on rubber washers, while cartridge, ball, and disc faucets are usually single-handle models. Knowing which type you have tells you which part is most likely leaking and which replacement kit to pick up, so it is worth confirming before you buy anything.
Step 3: Take the Faucet Apart
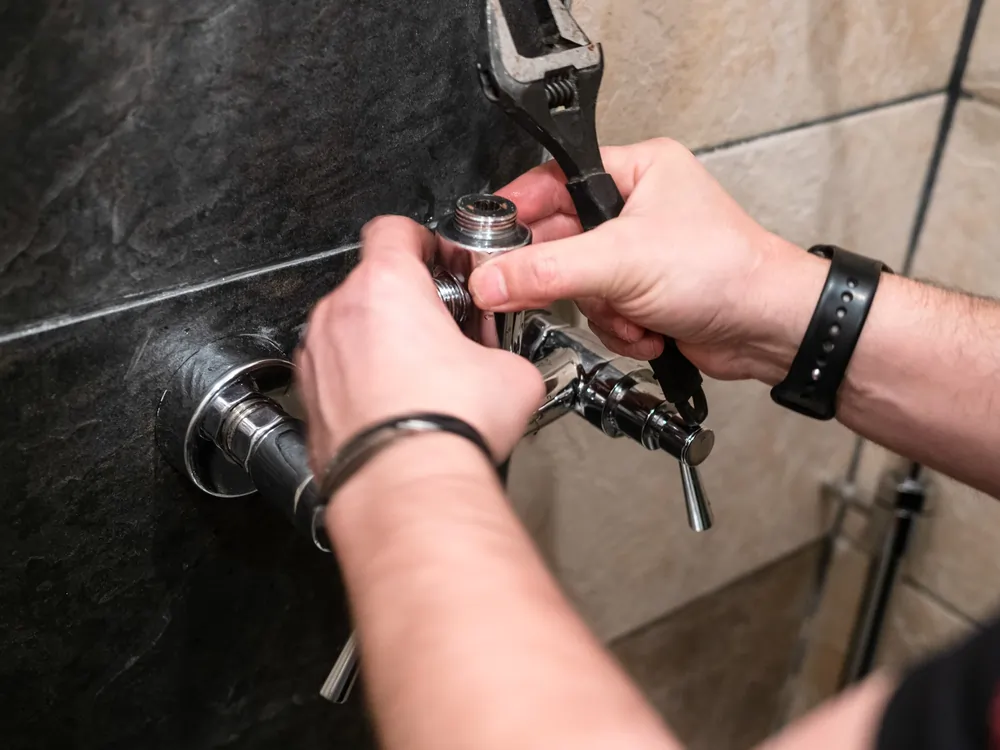
Pry off the decorative cap on the handle, remove the screw underneath, and lift the handle away. Use your wrench to loosen the packing nut and expose the inner assembly. Lay each piece out in the exact order you remove it, which makes putting everything back together far easier.
Step 4: Replace the Worn Part
This is where most leaks are actually fixed. On a compression faucet, swap the rubber washer and the O-ring at the base of the stem. On cartridge, ball, or disc faucets, replace the cartridge or the matching seals and springs with a kit made for your model. If you spot white crust on any parts, soak them in vinegar to break down the mineral scale before you reassemble.
Step 5: Reassemble and Test
Put the faucet back together in reverse order, tightening firmly but not so hard that you crack a fitting. Turn the water supply back on slowly, then run both hot and cold to check for drips. If the leak is gone, you are finished. If it keeps dripping, the valve seat or another internal part may still need attention.
What Causes a Faucet to Leak?
Most drips trace back to a handful of culprits: a worn rubber washer, a cracked O-ring, a failed cartridge, or a corroded valve seat. Hard water is a frequent offender across Southern California, since mineral scale grinds on seals and clogs the small openings inside a faucet. Unusually high water pressure can also stress your fixtures and force water past the seals. If you have chased a drip that keeps coming back, it may be worth having a pro run leak detection to rule out a bigger problem.
When to Call a Plumber
Plenty of faucet leaks are a quick do-it-yourself win, but some jobs deserve a professional plumber. Call a plumber if the leak returns after your repair, if the valve or supply lines are corroded, or if more than one fixture is dripping at once. Water pooling in the cabinet, a musty smell, or a sudden jump in your bill can also signal something more serious than a worn washer.
Frequently Asked Questions
How much does it cost to fix a leaky faucet?
If you handle it yourself, a repair kit usually runs just a few dollars. Hiring a plumber costs more but saves time and guarantees the work, and the exact price depends on your area, the faucet type, and whether other parts need replacing.
Why is my faucet still dripping after I replaced the washer?
The leak is probably coming from a different part, such as a corroded valve seat, a bad O-ring, or a worn cartridge. Reassembling the faucet too loosely or too tightly can cause drips as well. If it keeps leaking after a second look, it is time to bring in a pro.
What about a leaking shower faucet?
Shower faucets use similar parts but sit behind the wall, which makes them harder to reach and service. If yours is dripping, professional shower repair is usually the safest route.